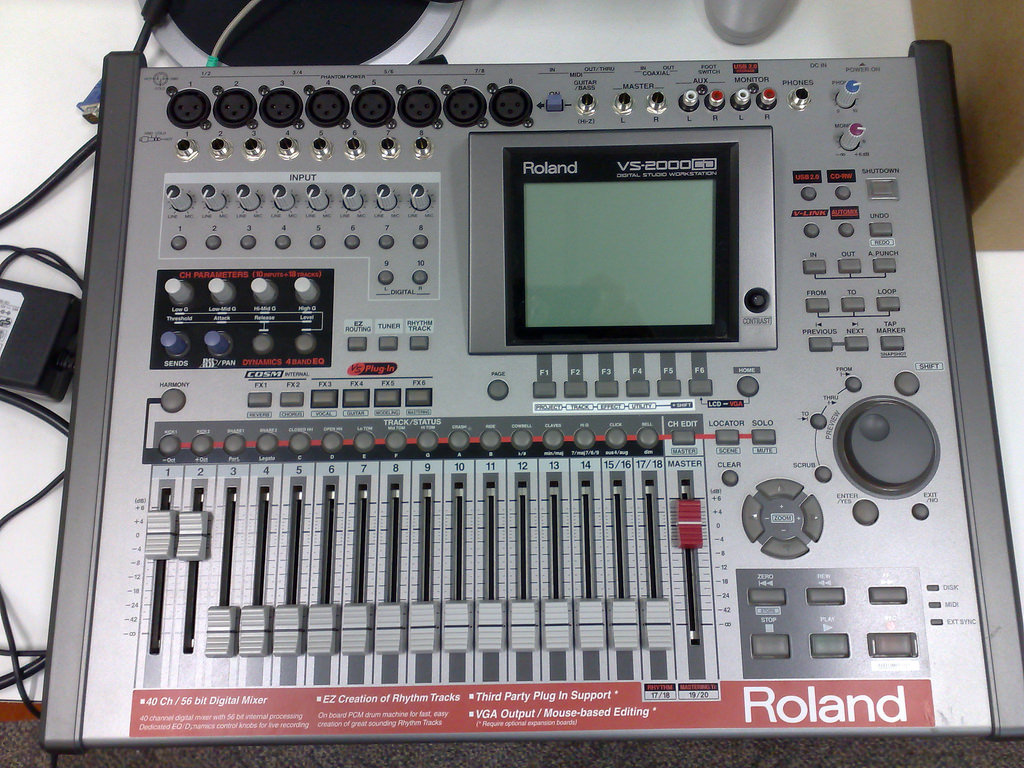
Roland VS-2000 Digital Studio Workstation
This walkthrough will explain how to use the Roland VS-2000 Digital Studio Workstation. By the end of the walkthrough, you should be able to make a recording on the workstation and burn it to a CD.
0. Introduction
This Roland Workstation is one example of a bunch of similar devices, other devices are Tascam Portastudios and Yamaha Portable Digital Recorders. These devices are all designed to be a “one box” solution for making a recording. Here’s the idea:
Music!! —-> Microphones —-> [ Roland Digital Studio Workstation ] —-> CD
These devices all have the ability to record one or more tracks at once and then layer other tracks on top of that. As an example, if a rock band wanted to make a demo recording of their new song, the might record bass, drums and guitar at once to one (or separate) tracks, and then layer the vocals on different track.
These devices have been around for ages, starting with the availability of reel to reel tape recorders (1950s) that could record to two separate tracks (or both at the same time for stereo).
These days (2008), a lot of people have found it easier to record on computer using Apple’s Garageband, Audacity, or some other commercial music recording software. The complication is that you usually need some piece of hardware between the computer and the microphones to turn the microphone signal into a digital signal that the computer can record.
The advantage of a device like the Roland Digital Studio Workstation is that you don’t need to bother with a computer and extra hardware, everything is built in and always works properly.
The VS-2000 is not only convenient, it’s very powerful, you can record from up to 8 different microphones (or other sources) to 8 different tracks at once and it comes with heaps of effects and tools for editing and changing the recording. It’s entirely conceivable that a (near) studio quality album could be recorded with this device. However, like any musical instrument, it takes a lot of practice to become proficient at making recordings with the Digital Workstation. This walkthrough is designed to be a first step, for further reference, see the Owner’s Manual (that’s right, the really thick book).
This walkthrough is divided into the following sections:
- Setting up (Connecting Microphones, Headphones and Power to the VS-2000)
- Recording (Starting a new project, assigning inputs to tracks, pressing record!)
- Mastering to CD
- Packing up
1. Setting up
Set the digital workstation somewhere stable where it’s easy to reach the controls. Plug the power in and turn on the digital workstation. Set up two microphones where you want to record. For a good stereo image, have the heads of the microphones facing different sides of the room but as close together as possible. Plug microphone cables in the microphones and then into input 1 and 2 on the digital workstation.If you’re using microphones that require phantom power, make sure that on the back of the digital workstation the switch called “PHANTOM POWER” with “1/2” is on. This will supply power through inputs 1 and 2 for the microphones.The NT5 (silver tube) and AKG-414c (Gold rectangular) microphones need power, but the Beta 57’s and 58 (grey conical body with a silver grille) don’t. It usually doesn’t matter if you have phantom power on a microphone that doesn’t need it.
POSSIBLE PROBLEM. If you can’t select PROJ in the following section, the digital workstation might be trying to use an external screen instead of the built in screen. Push F6 and HOME together to fix this (an arrow like the mouse pointer on a computer will appear on the screen when this is fixed).
Creating a new project.To load the project you need to use the shift key, the F1 to F6 keys and the PAGE key, so find them now. The ‘F’ keys have little labels on the screen. When you hold shift, F1 is labelled “PROJ”, so hold shift and press F1. Now, on the PROJECT screen, you can press PAGE to scroll through different options for F1 to F6. On Page 1 you can select NEW with F2. Now you can enter a name for the new project: use the big dial to select a letter and the arrow keys to change letter, when you’re finished press OK (F5) and then “YES” to confirm and “YES” again to store the current open project.
Getting ready to record.Before you get ready to record, make sure all the volume controls on the digital workstation are set to zero. You need to be able to hear what you’re recording through the unit, the best way is to plug some headphones into the PHONES socket. Sound will only come out PHONES when the PHONES volume (blue knob) is turned up and the MONITOR volume (red knob) is turned up.
Soundchecking each mic.We’re going to turn the INPUT knobs for input 1 and 2 up to an appropriate level. These knobs adjust how sensitive the microphones are. With the mics plugged press the button ‘1’ in the input area. On the screen there will be a little volume meter that shows the input level of mic 1 and 2 (button ‘2’ gives you the same meter but the rest of the screen might be different). Make a sound typical of what you’re recording and adjust the input knobs for 1 and 2 so that the level is gets up to the 12 written on the meter. The 12 is kind of a rule of thumb so that quieter sounds are audible but loud sounds don’t get clipped. By the way, above the meter there’s the word CLIP and the numbers 1 to 10 corresponding to each input. If input 1 is clipping, the little 1 will get highlighted. Clipping is bad. If a recording has clipping it will generally sound so terrible you’ll have to record again with the mic sensitivity turned down.
2. Recording
Setting the mics to record.We want the digital workstation to record sounds coming in from mics 1 and 2 on recording track 1 (each recording track can be treated as mono or stereo). Look down at the mixer area, press the button 1 (it should start to flash red), turn the volume up to 0. Now inputs 1 and 2 will record to track 1. Make some noise and observe the stereo signal in track 1s meters.
Record! Look at the transport area. Hold REC and press PLAY to start recording. When you’re finished press stop.
| Listening back.Press | «> |
3. Burning to CD
Creating mastering tracks: We need to “master” the recording we have already made to two special master tracks.
- We need to bring up the “MASTERING ROOM” screen, so press SHIFT and CD-RW and this screen will appear.
- Use the arrow keys and dial to change settings. We want “MASTERING ROOM” to be “On”, Status to be “Rec”, CDR Rec Mode to be “On”. Note the V.Track that the master will be recorded to. You will want to verify in the next section that this track is going to be recorded to CD.
-
In the transport area, press |« (Zero) and then hold REC and press PLAY. The recording will play as it is recorded to the master track. When it’s at the end of the recording press STOP and |< Burning mastering tracks to CD. (p366)
- Insert a blank CD into the drive.
- Press the CD-RW button
- Press F2 and then answer YES to “Store Current?”
- The CD-R write screen will come up. It should have spaces for the Left source track and Right source track. These should be automatically filled with the master track we created. You can use the arrow keys, dial and YES/NO to change settings. You probably want Finalise On, Write method to be Disc at Once and Speed to be 8x.
- Press F5 to burn, there will be a bunch of useless dialogues, press YES until it starts burning the disc.
- After it finishes and ejects, try playing back in a regular CD player or computer to check that it worked.
4. Packing up
If you’re completely finished with your project, consider deleting the project file from the digital workstation so that it doesn’t inconvenience others. Alternatively, you can copy the project file to a computer, look in the manual under “USB Storage”.Turn all of the volume controls down and then turn off the digital workstation (turn off any speakers or monitors before you turn off the workstation). Unplug the microphones and put them back in their case. Fold up the microphone stands and roll the microphone cables in the “one over, one under” method.